
I love strawberries. The smell of fresh strawberries softly drifting over from the fruit shop next to work, gets me every time. The beautiful red colour, the round shapes promising nothing but juiciness, sweetness and sounding the arrival of summer or spring as is the case here in the Med…. Too bad our strawberry season will be over already by half to end of June, but we get yummy yellow melon, watermelon and prickly pears instead 🙂
So naturally, on the way home and passing by the shop next door to the office, I could not resist and picked up a box of yummy goodness.
Looking at what I had at home, I decided to make these layered strawberry cups, which you can eat as dessert, or snack or even breakfast (and a not too naughty one!) Fairly easy and quick to make, it will not take you more then 30 minutes, promise!


Ingredients:
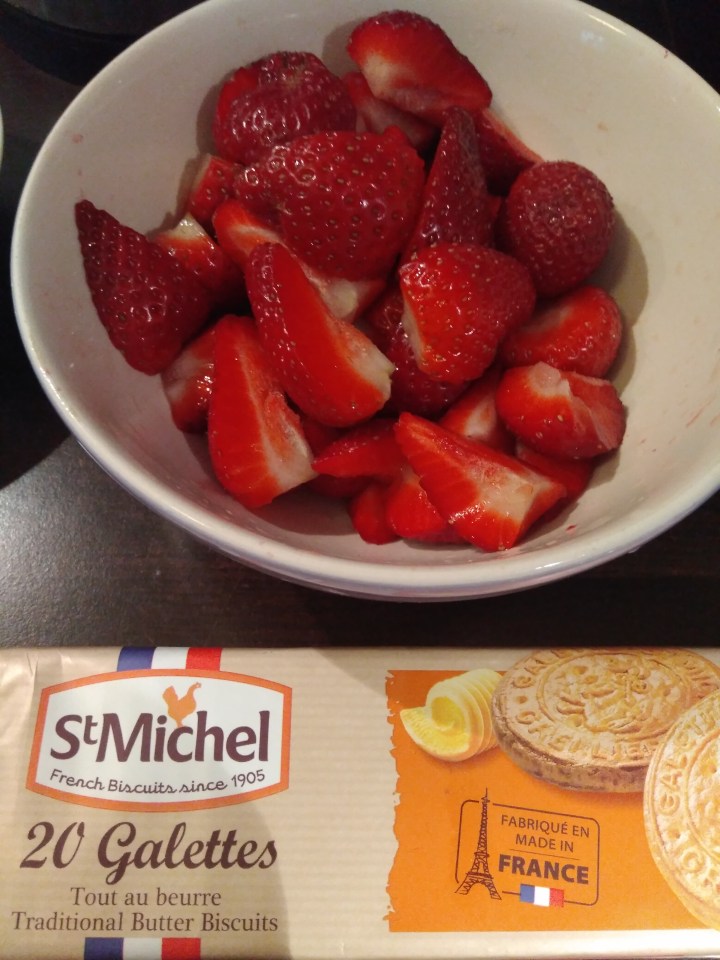
- 350 gr fresh strawberries
- 80gr of French Galettes au Beurre, I used the St.Michel ones from Saint-Michel-Chef-Chef in Bretagne, France
- 300ml of yoghurt
- sugar, honey or another sweetener of your preference, if required
- a handful of crushed pistachio nuts
Method:
We start off with preparing our ingredients: wash and remove the crown of the strawberries. Keeping 3-4 strawberries aside, we quarter the remaining fruit.
Blend the Galettes au Beurre fine in a food processor or a blender till you have a fine smooth mass, or leave in larger pieces if you like extra crunch. Then crush your pistachios and sweeten the yoghurt as required.

Then take 4 glasses or cups, and decide in what order you want to start layering your cups. Some people like to have strawberry as a first layer, others the yoghurt or first the biscuits like me.
Now it’s time to start building: Place layer on layer of your ingredients, alternating until you’ve either divided all your ingredients over the cups, or until your cups are full. Now take the few strawberries you set aside, which we will transform in a pretty strawberry fan as decoration on top of our layers. For this you only need a sharp knife you are comfortable working with, and a little patience.
With the strawberry tip pointed down, carefully make 5-6 incisions into the strawberry, but making sure you do not cut through so none of the ‘fan leaves’ (I know, but for lack of a better word let’s go with fan leaves) can fall off. The strawberry is thus still connected at the top. Once finished, gently put your strawberry down and carefully push the leaves down, to fan out the strawberry. Et Voila! Now place your strawberry fan on top of your layered dessert and sprinkle with the crushed pistachios…. I would place these in the fridge for approx 30 minutes so your dessert is nice and cool. Enjoy!

